Tire Tread Depth Basics
Tread depth is the rubber remaining in the grooves that channel water away from the tire contact patch. When tread gets shallow, water has less path to escape, so braking distances on wet roads rise and hydroplaning becomes more likely. Many countries use 1.6 mm as a legal minimum tread depth for passenger tires, measured in the main tread grooves. That number is a compliance threshold, not a safety target for every driving condition.
In practice, drivers often replace tires before reaching 1.6 mm because wet performance degrades gradually, not at a single instant. A tire at 1.6 mm may still be legal, yet it can behave differently in heavy rain, during emergency braking, or when the tire is older and the rubber has hardened. If you drive in frequent rain, the “replacement point” you choose matters more than the legal minimum.
Measuring tread depth is simple but easy to do wrong. A tread depth gauge should be placed in the main grooves, not on the raised ribs between grooves. Measurements should be taken across the width because wear rarely stays uniform. I once saw a tire with 2.5 mm in the center and 1.2 mm on the shoulder, and the driver assumed the whole tire was fine based on one spot.
Why 1.6 Mm Misleads
The 1.6 mm figure is tied to legal enforcement and a general safety margin, not to your vehicle, your tires, or your local weather. Two tires both at 1.6 mm can produce different wet braking results if one has uneven wear, different compound age, or different tread pattern depth distribution. The legal minimum also does not account for how much tread is left in the specific groove that is most worn.
People also confuse tread depth with tire age and condition. A tire can reach 1.6 mm quickly if alignment is off or if pressures run low, and it can reach 1.6 mm slowly while the rubber ages and loses grip. The tire’s sidewall and tread compound can harden over time, which affects traction even when the tread depth looks acceptable. That is why many tire makers and vehicle manuals discuss both tread depth and age, often using a time range such as 5 to 10 years depending on the product and storage history.
Wear patterns create another dependency. If the center wears faster, underinflation is a common cause. If the shoulders wear faster, overinflation or aggressive cornering can be involved. If one side wears faster than the other, alignment or suspension issues may be present. A single measurement at the center can hide a shoulder that is already near the legal limit.
Solutions And Advice
Measure Correctly, Then Map Wear
Use a tread depth gauge and measure at multiple points across each tire, typically center and both shoulders. Record the lowest reading because that is the limiting factor for wet performance. If your tire has directional tread, measure in the same groove locations on the same side of the tire each time so you can track change. A cheap gauge with a sliding scale is fine, but a digital gauge can reduce reading errors; I used a small digital model labeled “0.01 mm resolution” in a workshop setting, and it made it easier to avoid rounding mistakes.
Also inspect the tread for irregular wear, exposed cords, or cracking. Cracks in the grooves can indicate aging or damage, and they can change how water is managed even before tread depth reaches 1.6 mm. If you see cupping or scalloping, the tire may be suffering from suspension or balance issues, and replacement alone may not fix the underlying cause.
Choose A Replacement Point
A practical replacement point is usually higher than 1.6 mm for drivers who care about wet braking and predictable handling. Many drivers target around 3 mm tread depth as a “rain comfort” threshold, then plan replacement sooner if they see uneven wear or drive in heavy rain. The exact number depends on your climate, your tire model, and your driving style. If you mostly drive dry roads with low rainfall, you may choose a lower threshold, but the risk of longer wet braking remains.
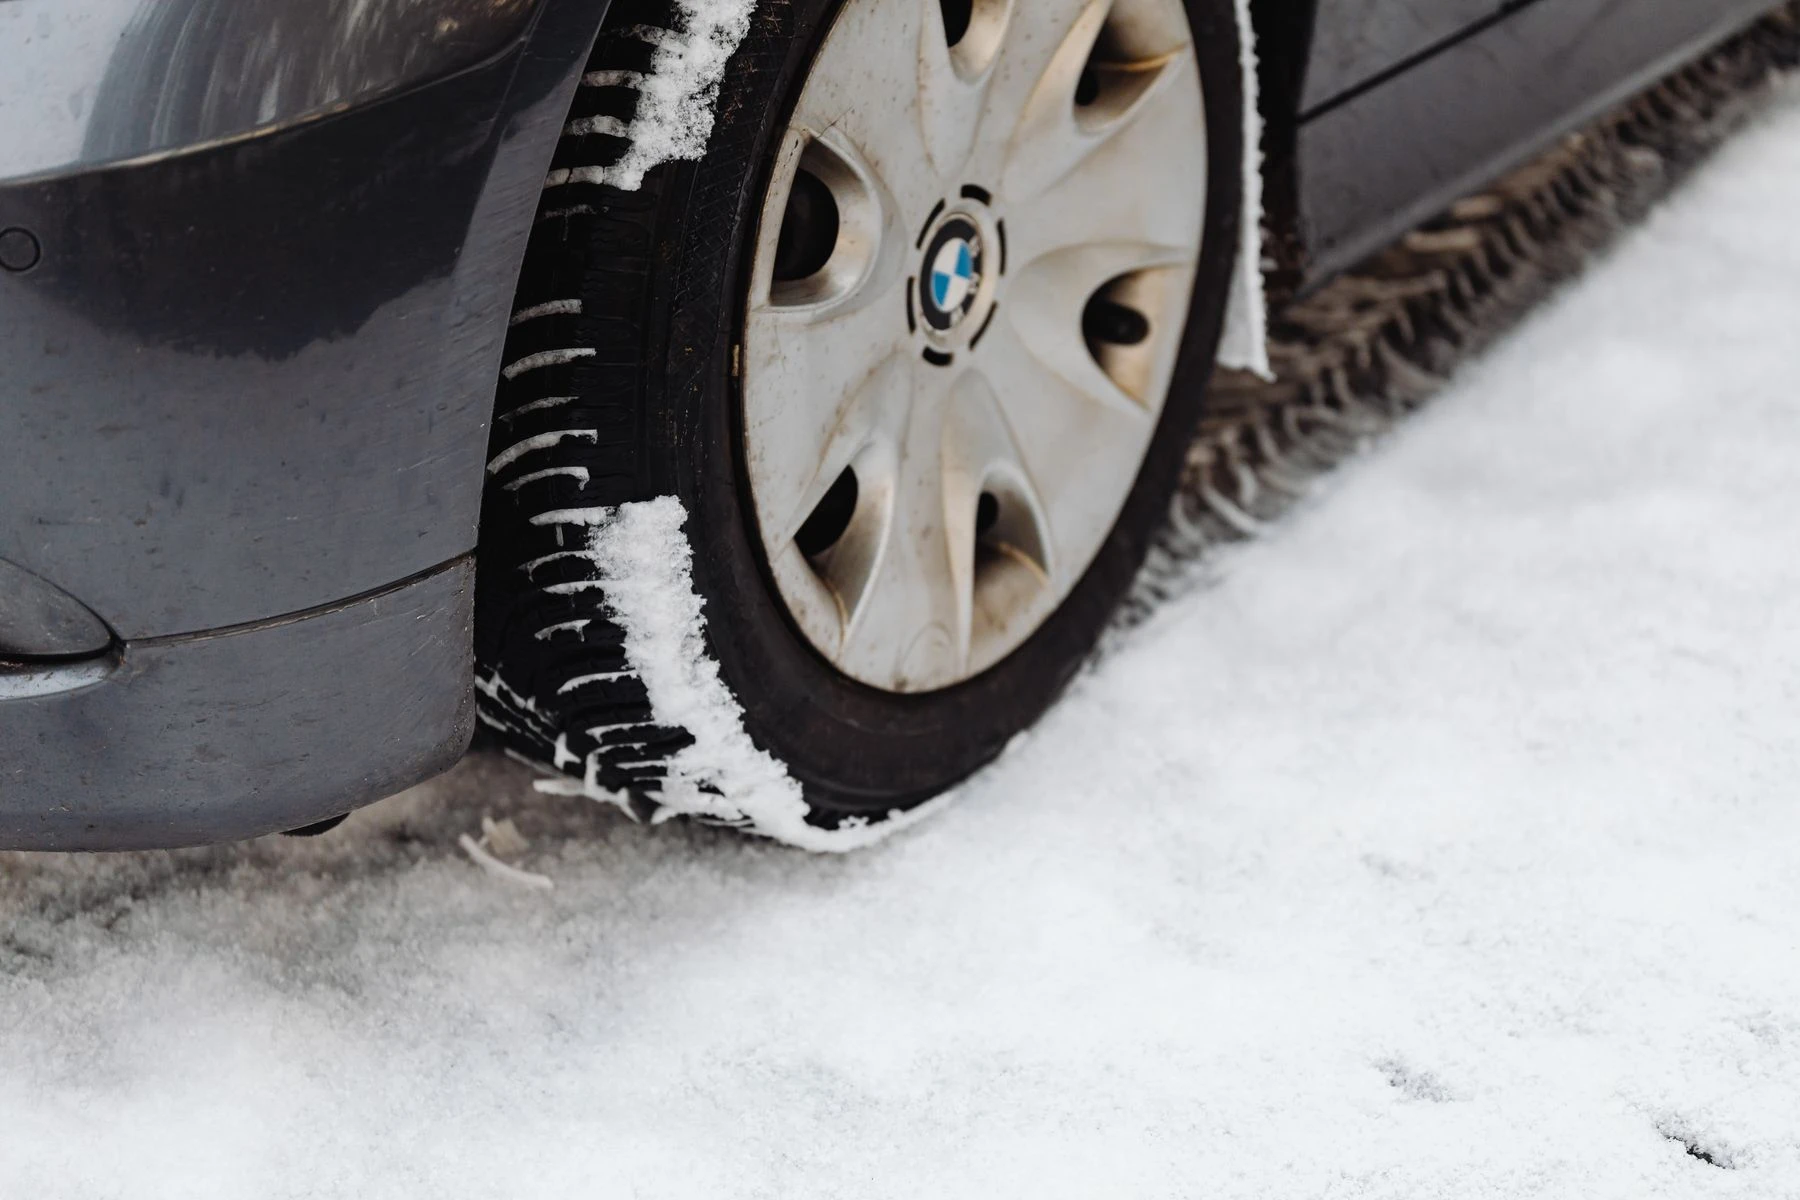
For winter tires, the decision often shifts because winter compounds and siping matter. Even if the legal minimum is 1.6 mm, winter traction can drop as grooves and sipes wear down. In cold climates, drivers sometimes replace winter tires earlier than the legal minimum to preserve snow and slush evacuation. Your vehicle manual or tire maker’s guidance is the best anchor, and it may mention a tread depth for winter performance.
Check Pressure And Alignment
Correct tire pressure changes tread wear speed and shape. Underinflation increases shoulder wear and can bring a tire to the replacement point early. Overinflation can increase center wear. Use the vehicle’s placard value for cold tires, and recheck after temperature swings. If you have a tire pressure monitoring system, treat it as a warning tool, not a substitute for manual checks.
Alignment issues can also shorten the timeline to replacement. If you notice the car pulling, steering wheel off-center, or rapid tread wear on one side, schedule an alignment check. A tire can reach 1.6 mm on one shoulder while the rest still looks thick, which makes the “replacement point” effectively the lowest worn area.
Plan Replacement Like A System
When replacing tires, consider axle pairing and tread depth matching. Many vehicle and tire guidelines recommend replacing tires in pairs on the same axle to keep rolling characteristics similar. If you replace only one tire, the remaining tires on that axle can have different tread depths, which can affect traction and stability control behavior. The right approach depends on your drivetrain and the tire type, so the vehicle manual and tire maker guidance matter.
Also consider whether you need to replace the full set. If your tires are near the replacement point across all positions, replacing all four can restore uniform grip. If only one tire is worn due to a localized issue, fixing alignment and replacing that tire may be enough, but the decision should follow measurements, not appearance.
Case Examples For Real Decisions
Example 1: Uneven Wear Hides The Limit
A driver checks tread depth once at the center and sees 2.2 mm. After a rain trip, they notice the car feels less stable under braking. A second measurement across the tire shows 1.1 mm on the inner shoulder and 2.4 mm on the outer shoulder. The driver replaces the tire and schedules an alignment check, then monitors pressure. The key lesson is that the lowest groove depth controls wet performance, and uneven wear can make a “legal-looking” tire behave worse than expected.
Example 2: Dry Roads, Wet Risk Still Matters
A commuter drives mostly dry roads and targets replacement at 2.5 mm. Over a winter season, they encounter several heavy rain days and one emergency stop on wet pavement. Their tires reach 2.0 mm, and the driver chooses to replace them before reaching 1.6 mm. The driver’s decision is based on measured tread depth and the frequency of wet events, not on the legal minimum. This scenario shows how a replacement point can be a personal risk trade-off tied to actual driving conditions.
Tread Depth Checklist
| Decision Input | What To Look For | Typical Action | Why It Matters |
|---|---|---|---|
| Legal Minimum | 1.6 mm in main grooves | Passes compliance checks in many places | Does not guarantee wet braking margin |
| Practical Replacement | Often around 3 mm, varies | Plan replacement for frequent rain | More tread depth helps water evacuation |
| Uneven Wear | Center vs shoulder differences | Fix pressure or alignment, then replace as needed | Lowest-wear area drives wet grip |
| Tire Age And Cracks | Dry rot, sidewall cracking | Consider replacement even if depth looks ok | Aged rubber can lose traction |
Step-by-step checklist for a decision you can defend:
- Measure tread depth in the main grooves at center and both shoulders on every tire.
- Write down the lowest reading per tire and the date of measurement.
- Inspect for irregular wear, cracking, bulges, or exposed wear indicators.
- Check cold tire pressure against the placard value and correct it.
- If wear is uneven or rapid, schedule an alignment and suspension check before replacing multiple tires.
- Choose a replacement point based on your wet driving frequency and the lowest measured depth, not the highest.
Common Mistakes To Avoid
One frequent mistake is measuring only one spot, often the center, then assuming the whole tire matches that number. Uneven wear can reduce the effective tread depth on one side, which changes wet braking behavior. Another mistake is measuring on the wrong part of the tread, such as the raised ribs between grooves, which overstates water evacuation capability.
Drivers also treat 1.6 mm as a safety guarantee. Legal minimums are designed for enforcement and broad conditions, not for your braking style, your road surface, or your tire’s age. If you drive in heavy rain, a tire at 1.6 mm can still feel acceptable in light conditions while braking performance drops when water depth increases.
Replacing tires without addressing the cause of wear is another trap. If the tire reached the replacement point due to underinflation, alignment, or suspension issues, the new tire can wear unevenly too. In that case, the replacement point arrives sooner than expected, and the driver blames the tire model rather than the underlying setup.
Finally, some people ignore tire age and cracking because tread depth looks fine. A tire can show surface cracking or hardened tread blocks that reduce grip, and the risk rises with heat cycles and storage conditions. If you see cracking in the grooves or sidewall, tread depth alone does not answer the safety question.
FAQ
Is 1.6 Mm Enough For Wet Roads?
1.6 mm meets a legal minimum in many jurisdictions, but wet braking margin can still be limited, especially in heavy rain or with uneven wear. A higher practical replacement point often fits frequent wet driving better.
Where Should I Measure Tread Depth?
Measure in the main tread grooves, not on the raised ribs. Take readings at the center and both shoulders, then use the lowest value for decisions.
Do I Replace One Tire Or All Four?
Many vehicle and tire guidelines recommend replacing tires in pairs on the same axle to keep grip characteristics similar. Your vehicle manual and tire maker guidance should govern the exact approach for your drivetrain.
How Fast Can Tires Go From 3 Mm To 1.6 Mm?
Wear rate varies widely with mileage, alignment, driving style, and pressure. If you track tread depth every few months, you can estimate your personal timeline instead of relying on generic averages.
Does Tire Age Matter If Tread Depth Is Fine?
Yes. Rubber aging can reduce traction even when tread depth remains above 1.6 mm. Cracking, hardening, and sidewall condition are cues to consider replacement beyond tread depth.
Author's Insight
Legal tread minimums like 1.6 mm are designed for enforcement and broad safety assumptions, so they do not map perfectly to real-world wet braking for every driver. The most reliable decision comes from measuring multiple points, tracking change over time, and checking for uneven wear patterns that point to pressure or alignment problems. Tread depth interacts with tire age and compound condition, so a tire can feel worse than its gauge reading suggests. A practical replacement point is a risk trade-off tied to your local rain frequency and your vehicle’s setup, not a single universal number.
Key Takeaways
- 1.6 mm is a legal minimum in many places, not a wet-performance target.
- Measure in main grooves at center and shoulders, then use the lowest reading.
- Uneven wear can hide a near-limit shoulder even when the center looks fine.
- Choose a replacement point higher than 1.6 mm when rain exposure is frequent.
- Fix pressure and alignment issues before replacing tires, or the wear pattern repeats.